
How to contour for beginners easy really comes down to two things: placement you can repeat, and blending you don’t overthink. If contour has ever turned into harsh lines, patchy cheeks, or a “why do I look dirty?” moment, you’re not alone, it usually isn’t your face, it’s the method.
Contour looks intimidating because most tutorials jump straight to full glam mapping. But day to day, you need a simpler goal: add soft shadow where your face naturally dips, then melt the edges so nobody sees “product,” they just see shape.
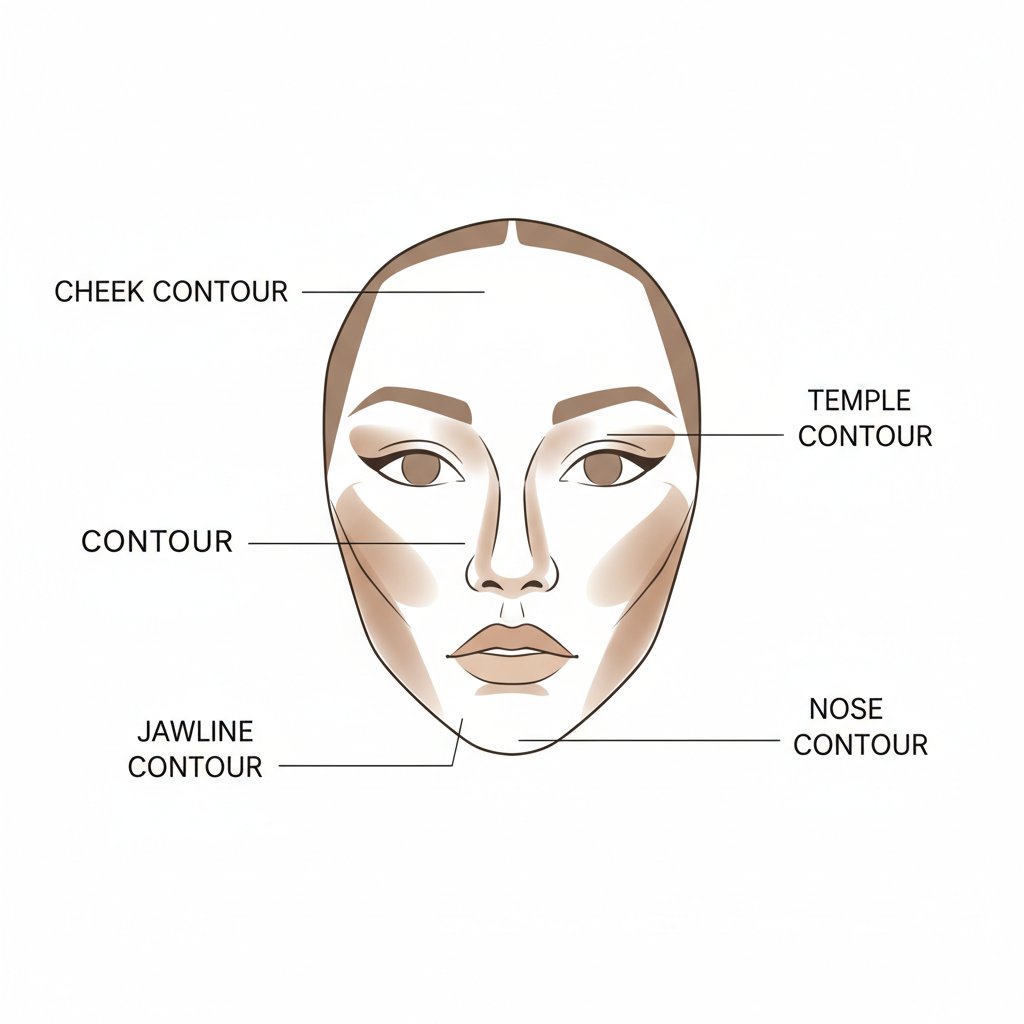
In this guide, you’ll get a quick face-shape check, easy placement rules, a small product table, and a step-by-step routine that works for cream or powder. No “17-step beat,” just what tends to look good in real life.
What contour is (and what it is not)
Contour is makeup shadow. You’re mimicking the way light naturally hits your face, creating depth by placing a slightly deeper tone in areas that would fall into shade.
It is not bronzer, even though people mix them up. Bronzer warms the skin and can look sun-kissed, contour stays more neutral or cool so it reads like a shadow instead of tan.
- Contour: adds structure and definition, usually neutral/cool.
- Bronzer: adds warmth and glow, usually warm.
- Blush: adds life and color back to cheeks.
According to the American Academy of Dermatology (AAD)... daily sunscreen helps protect skin from UV damage. If you contour over SPF, aim for light layers so you don’t rub protection off while blending.
Quick self-check: are you using the right shade and undertone?
Most “beginner contour fails” come from one of these: the shade is too dark, too warm, or applied too low on the face. Before you change technique, check your basics.
A fast checklist
- Depth: pick a contour about 1–2 shades deeper than your skin, not 4.
- Undertone: neutral-to-cool usually reads more like a real shadow on camera and in daylight.
- Finish: matte or satin is more forgiving than shimmer for sculpting.
- Tool: fluffy brush for powder, dense brush or damp sponge for cream.
- Lighting: if you only apply in warm bathroom light, check in daylight once.
If your contour looks orange, it’s often bronzer posing as contour, or a warm shade fighting your undertone. If it looks gray, the shade may be too cool or too deep for your complexion.
Easy contour placement that works for most beginners
When people ask how to contour for beginners easy, they usually want a placement rule they can repeat without “measuring.” Here’s the reliable version: keep shadow higher on the cheeks, lighter on the nose, and softer on the jaw.
Cheeks (the only area you truly need)
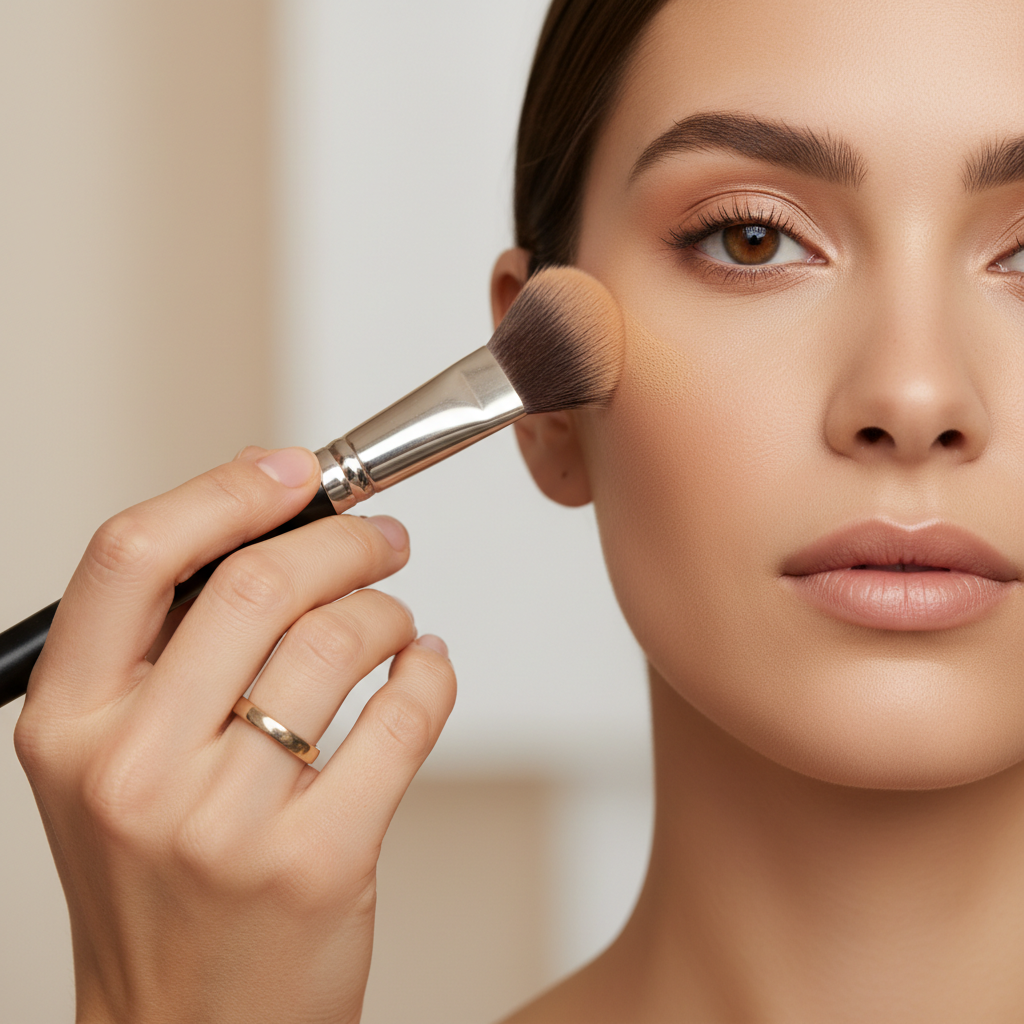
Place contour where your cheek naturally hollows, but start a bit higher than you think, closer to the top of the ear and aiming toward the outer corner of the eye, not toward the mouth.
- Make a small “dash” near the hairline by the ear.
- Blend upward, not down, so it lifts.
- Stop around the outer third of your cheek, don’t drag it forward.
Forehead/temples (optional, but helpful)
If your foundation makes your face look flatter, add a whisper of contour at the temples and along the top perimeter near the hairline. Keep it light, this is “frame the face,” not “draw a helmet.”
Jawline (use sparingly)
Jaw contour is where beginners overdo it. If you want subtle definition, place product just under the jaw, then blend down the neck a touch so there’s no obvious stripe.
Nose (only if you enjoy it)
Nose contour looks great when it’s soft, and distracting when it’s sharp. Start with the tiniest amount, shade the sides lightly, then blur with a small brush or sponge. Many people can skip this and still feel “contoured.”
Product and tool picks (simple, not overwhelming)
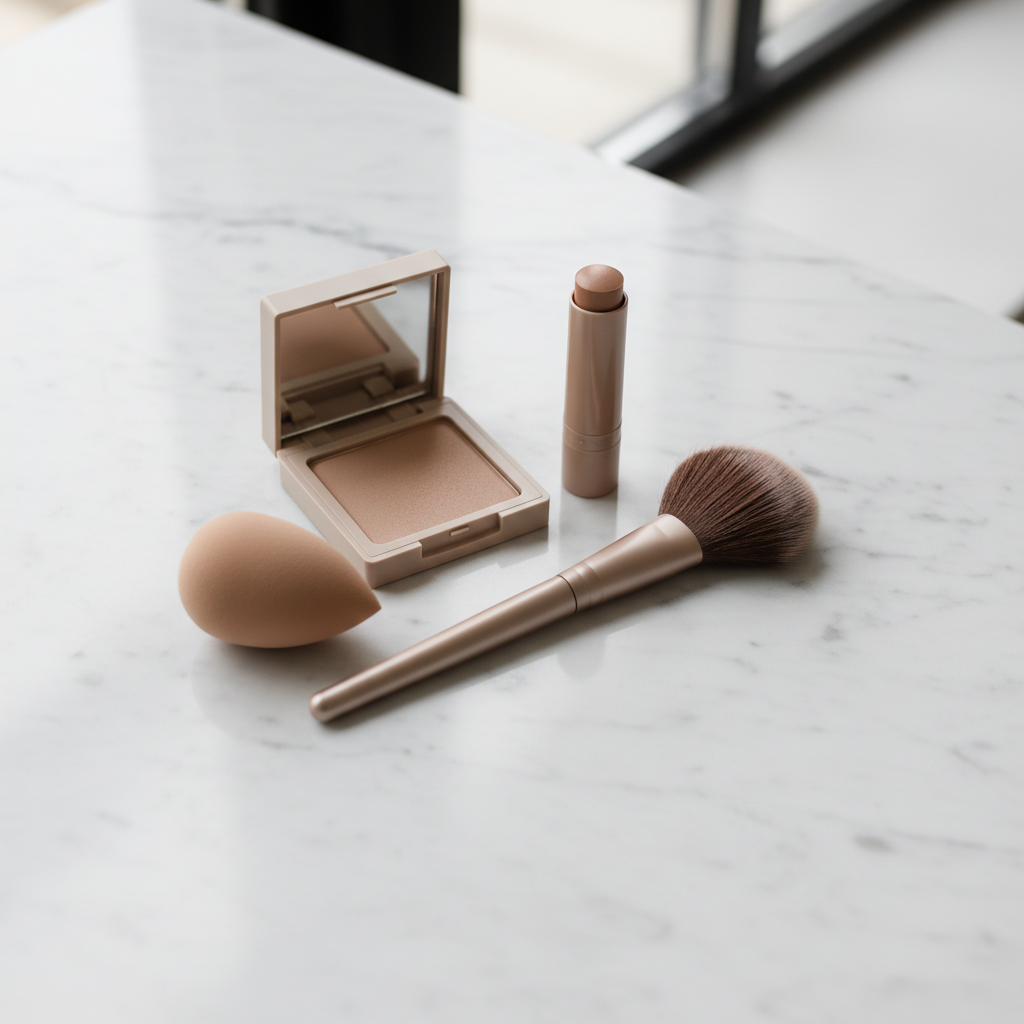
You don’t need a drawer of palettes. The easiest learning curve is usually a contour stick or cream for normal-to-dry skin, and a powder contour for oily skin, but either can work if you blend well.
| What you’re using | Why it helps beginners | Best tool | Common mistake |
|---|---|---|---|
| Cream contour stick | Easy placement, stays flexible while blending | Dense brush + damp sponge to finish | Drawing thick lines and chasing them around |
| Cream contour in a pot | Controlled pickup, good for small areas | Small dense brush | Using too much product at once |
| Powder contour | More forgiving, easy to build gradually | Fluffy angled brush | Pressing too hard, creating patchiness |
| Contour palette | Options for mixing undertones | Two brushes: small + fluffy | Using the darkest pan “because it’s contour” |
Key point: choose a shade you can build. It’s much easier to add than to erase, especially if you already set your base.
Step-by-step: an easy contour routine (5–10 minutes)
This is the routine I’d hand to someone who wants how to contour for beginners easy without turning it into an art project. Keep your pressure light, and blend longer than you think you need to.
1) Prep your base so it blends
- Moisturizer, then SPF if it’s daytime.
- Foundation or skin tint, thin layers.
- If you use concealer, keep it where you want brightness.
If you set your whole face with powder early, cream contour can skip or grab. Many people get better results by setting only the under-eye and T-zone first.
2) Place small, removable amounts
- Cheeks: one short line or two dots near the hairline.
- Temples: a tiny sweep, then stop.
- Jaw: a light touch under the jaw only if needed.
3) Blend in the right direction
- Cheeks: blend upward toward the temple.
- Jaw: blend downward slightly into the neck.
- Forehead: blend into the hairline so there’s no edge.
4) Add back warmth and life
Contour can make the face look a bit “hollow” if you stop there, so add blush, then optional bronzer. Blush placed a touch higher on the cheek ties everything together.
5) Clean up, don’t panic
If you went too heavy, tap over the edge with your sponge and leftover foundation. If you’re using powder, a clean fluffy brush can blur the line without adding more color.
Common mistakes that make contour look muddy (and quick fixes)
- Putting cheek contour too low: it drags the face down, move it higher and blend up.
- Using bronzer as contour: swap to a more neutral tone, keep bronzer for warmth.
- Over-applying before blending: start with dots, not stripes, especially with cream.
- Blending with the wrong tool: fluffy for powder, denser for cream, then finish with sponge if needed.
- Not checking in natural light: step near a window once, it saves you later.
Also, don’t contour every “recommended” area just because a chart says so. Beginners look best when they master cheeks first, then add forehead or jaw only if it truly improves the overall balance.
Practice tips that actually speed up learning
If you only practice contour right before you go out, it stays stressful. Try a few low-stakes reps at home, you’ll learn your face faster than any face-shape quiz.
- Do a “one-zone” week: contour cheeks only for 5 days, keep everything else the same.
- Take one photo in daylight: you’ll see placement issues immediately.
- Use less product than you want: build in two rounds instead of one heavy pass.
- Try the same routine with powder vs cream: pick what feels controllable to you.
According to the U.S. Food and Drug Administration (FDA)... cosmetics should be used as directed and kept sanitary. Clean brushes and sponges regularly, especially if your skin breaks out easily.
When you might want a pro match or extra help
If contour consistently looks ashy, orange, or patchy no matter how gently you apply, a shade match at a reputable beauty retailer can help, especially for very fair or deep complexions where undertone matters a lot.
If you have sensitive skin, acne, eczema, or irritation that flares with new products, it may be worth checking with a dermatologist or a licensed professional before testing multiple creams and powders. Makeup sits on top of skin behavior, so if skin is angry, blending becomes harder.
Conclusion: keep it small, high, and well-blended
If you want how to contour for beginners easy to feel truly easy, stick to cheek contour, pick a neutral shade that’s only slightly deeper than your skin, and blend upward until the edge disappears. That’s the whole game.
Try this: do cheeks only tomorrow, take a quick window-light check, then decide whether you even need forehead or jaw next time. Simple tends to look more expensive anyway.