
how to tightline eyes for beginners sounds simple, but the first time you bring a pencil near your waterline, most people freeze, blink, or end up with a messy, smudgy line.
The payoff is real though, tightlining can make lashes look thicker and eyes look more defined without obvious eyeliner, which is why it shows up in so many “no-makeup makeup” routines.
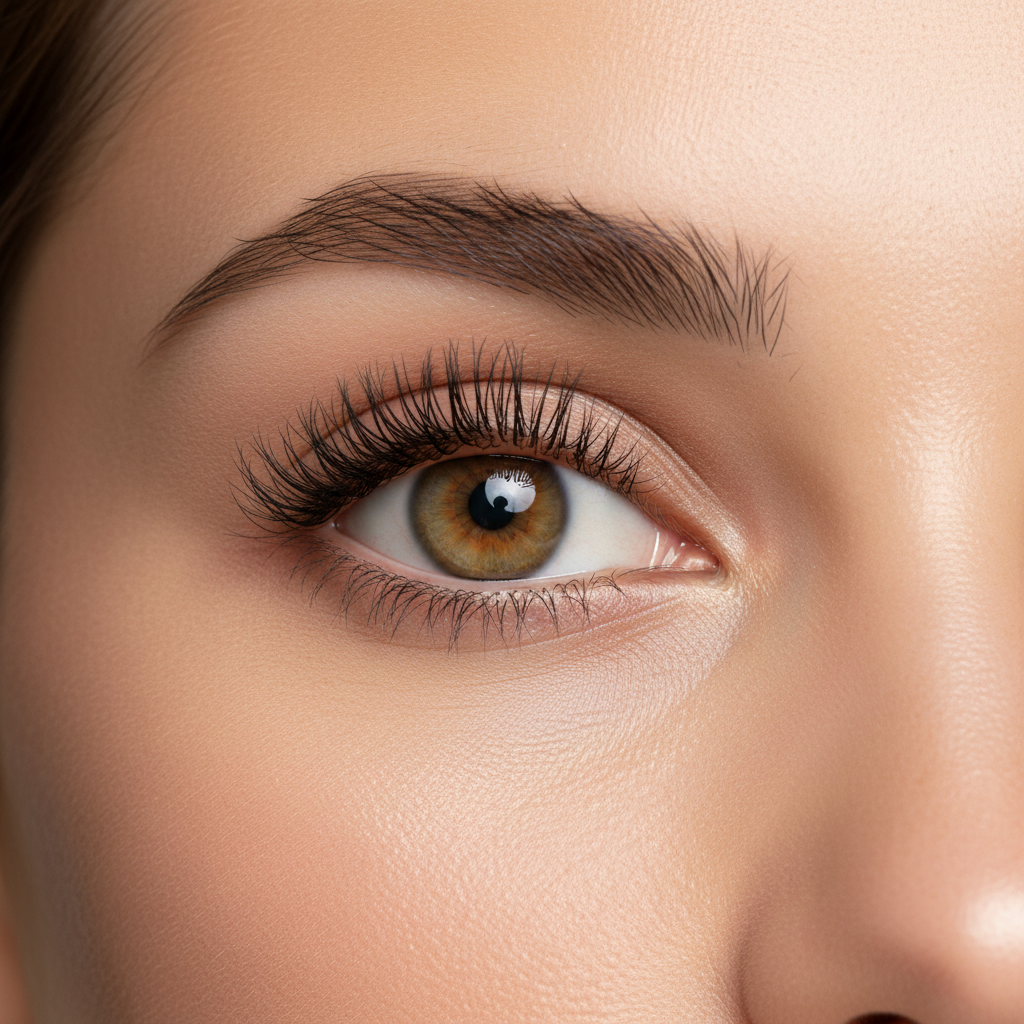
This guide keeps it beginner-friendly, what tightlining actually is, why smudging happens, how to choose a safe product, and a step-by-step you can repeat without overthinking it.
What tightlining actually is (and what it is not)
Tightlining means applying eyeliner to the upper waterline, the thin strip of skin right behind your upper lashes. The goal is to fill tiny gaps so the lash base looks denser.
It is not the same as lining your lower waterline, and it is not meant to create a visible wing. If you can clearly see a thick line when your eyes are open, you probably moved too far above the lashes.
- Best for: subtle definition, sparse lashlines, “clean girl” makeup, photos where lashes need a little extra density
- Less ideal for: very watery eyes, active eye irritation, fresh lash extensions, or anyone who hates the feeling of product near the eye
Why beginners struggle: the real-world reasons tightline looks messy
Most tightline issues come from physics and eye anatomy, not “bad technique.” Your waterline is moist, you blink a lot, and the product sits in a high-friction zone.
- Wrong formula: creamy pencils can melt and transfer, very dry pencils can skip and make you press too hard
- Too much product: beginners often “color in” the waterline, when you only need micro-contact at the lash roots
- Placement drift: the tip slides above the lashes and becomes visible or patchy
- Watery eyes: allergies, contact lenses, or wind can break down pigment fast
- Oil and skincare creep: eye cream or sunscreen too close to the lashline can cause smearing
According to the American Academy of Ophthalmology, eye makeup should be used carefully around the eye area, and hygiene matters, especially for anyone prone to irritation or infection.
Product choice for tightlining: what to look for (with a quick table)
If you want tightlining to look clean, the product matters as much as the hand skills. Aim for something that sets, stays put, and does not require pressure.
Best formulas for most beginners
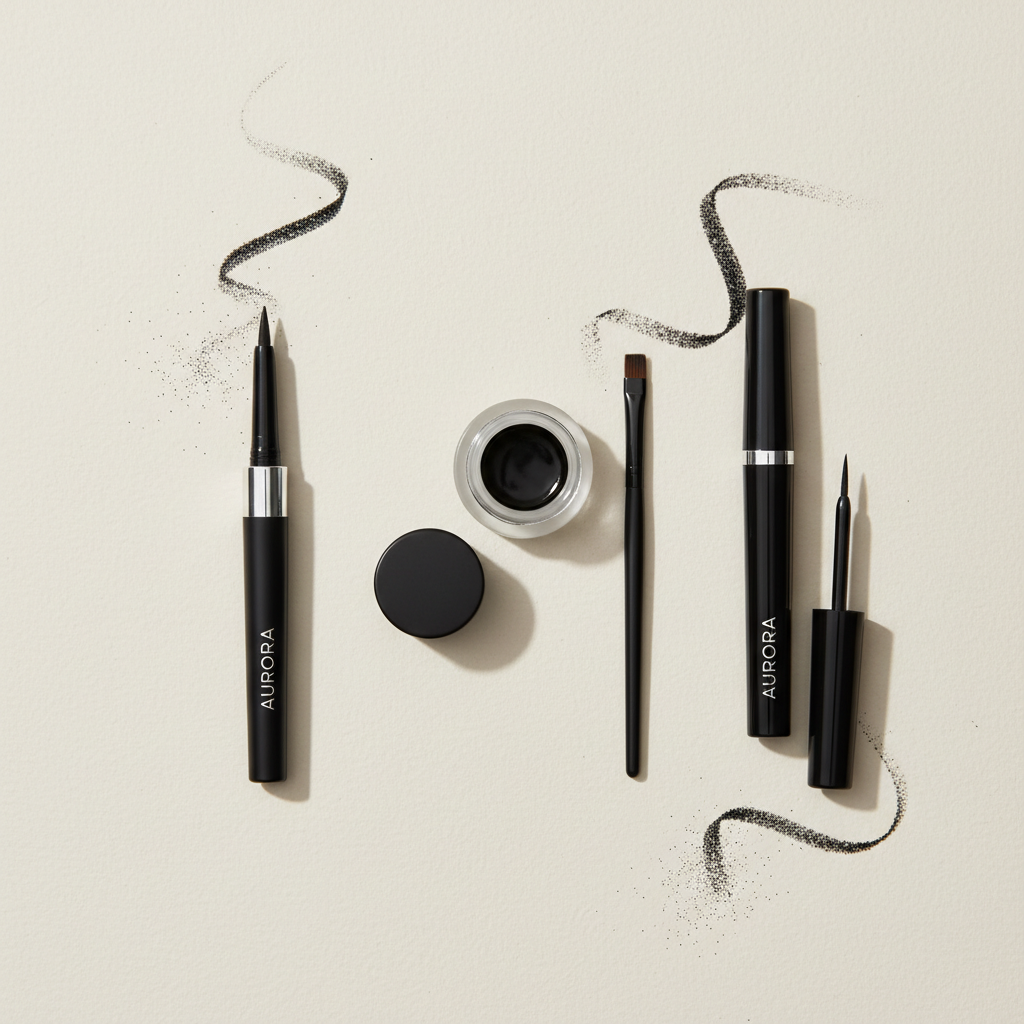
- Gel pencil (waterline-safe): glides but sets, usually the easiest starting point
- Pot gel + angled brush: great control, slightly more “advanced” but very precise
- Eyeshadow + flat brush: soft and forgiving, not as intense, often less irritating
Quick comparison table
| Option | Ease for beginners | Staying power | Best use case |
|---|---|---|---|
| Gel pencil | High | High (varies by brand) | Daily tightlining with minimal fuss |
| Pot gel + angled brush | Medium | High | Very precise fill at lash roots |
| Powder shadow | High | Medium | Soft definition, sensitive eyes |
| Liquid liner | Low | High on skin, lower on waterline | Not ideal for waterline, better for wings |
Key point: if the packaging does not clearly indicate it is intended for the waterline, treat it as “maybe” and patch test cautiously.
A quick self-check: are you a good candidate for tightlining today?
Before you try again after a bad smudge day, do a fast reality check. It saves time and irritation.
- My eyes feel normal today, no active redness, stinging, or swelling
- I can apply mascara without tearing up a lot
- I am not dealing with an eye infection, recent stye, or unexplained irritation
- My contacts are comfortable, or I can remove them for application
- I have a clean pencil and I am not using an old, mystery liner from the bottom of a bag
If two or more items feel shaky, go with shadow tightlining (soft, low-commitment) or skip the waterline and do a super thin line at the lash roots instead.
How to tightline eyes for beginners: step-by-step that stays clean
This is the repeatable routine most people actually stick with, it prioritizes control and comfort over “perfect in one pass.”
1) Prep the lashline so product has a chance to set
- Keep eye cream below the orbital bone, not right at the lashes
- If you wear sunscreen or dewy concealer, lightly blot the lashline area
- Optional: tap a tiny amount of translucent powder on the upper lid margin area, avoid getting powder in the eye
2) Positioning: the tiny trick that reduces blinking
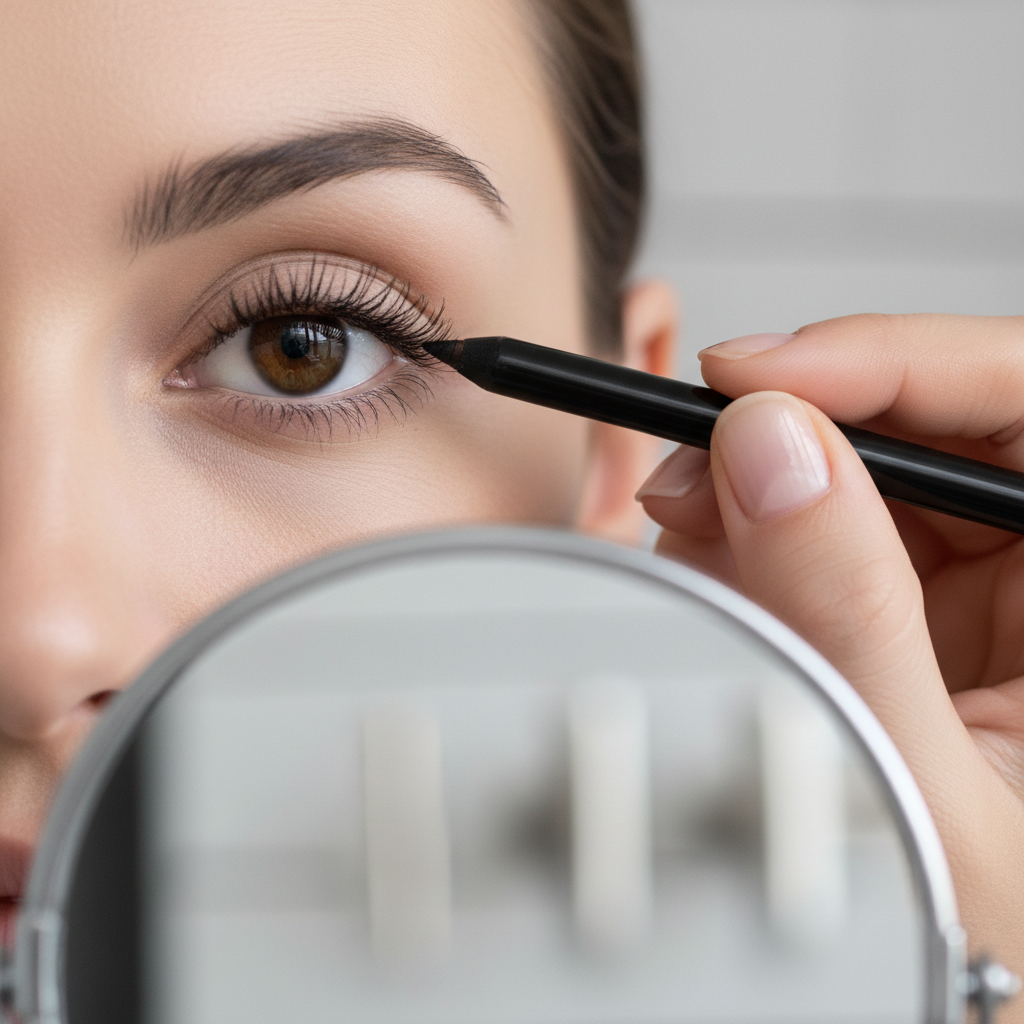
- Look slightly down into a mirror placed below your chin level
- Gently lift the lid by placing a fingertip on the brow bone, do not pull hard
- Keep your mouth slightly open if it helps relax the blink reflex
3) Apply in micro-stamps, not a long swipe
- Use the pencil tip to press into the lash roots in short touches
- Start at the outer third, then fill toward the center
- Only tightline the inner corner if you know you tolerate it, many people water up there
Here is the big beginner adjustment, you are not “drawing a line,” you are filling spaces between lashes. The line happens as a side effect.
4) Check for transfer, then set if needed
- Blink a few times, then look up and check the lower waterline for transfer
- If you see smudges, clean with a pointed cotton swab and a tiny bit of micellar water
- For extra insurance, press a matching dark eyeshadow into the lash roots with a flat brush
Make it last: smudge-proofing tips that are actually worth doing
If your main complaint is “it disappears by lunch,” focus on staying power before you add more layers.
- Less product wins: one controlled pass usually outlasts three heavy passes
- Set strategically: a touch of shadow at the roots can improve wear without thickening the look
- Avoid oily migration: keep balm, thick cream, and very emollient concealer away from the lashline
- Choose the right shade: soft black or deep brown often looks fuller than harsh jet black on bare lashes
- Pair with a tubing mascara: many people find it flakes less onto the waterline, results vary
According to the U.S. Food and Drug Administration (FDA), eye cosmetics should be used as directed and kept clean, and products that cause irritation should be discontinued.
Common mistakes (and the fixes that feel obvious after you know them)
- Mistake: pulling the lid far sideways. Fix: lift gently upward instead, stretching can create gaps and uneven stamping.
- Mistake: using a dull tip. Fix: sharpen for precision or twist up just a hair, too much exposed product can crumble.
- Mistake: lining the lower waterline by accident. Fix: pause, re-angle the mirror lower, and keep your gaze down.
- Mistake: tightlining after applying wet drops. Fix: wait a few minutes so the waterline is not extra slick.
- Mistake: trying to force waterproof performance with pressure. Fix: swap formula, pressure near the eye is where beginners get into trouble.
When to stop and ask a professional (or skip tightlining altogether)
Tightlining sits close to a sensitive area, so it is fine to be cautious. If you wear contacts, have chronic dry eye, blepharitis, frequent styes, or you are recovering from an eye procedure, it may be smarter to ask an eye care professional what is appropriate for your situation.
Also, stop using the product and consider medical advice if you notice persistent burning, swelling, unusual discharge, or ongoing redness. That is not a “power through it” moment.
Conclusion: a clean tightline is more about control than courage
Once you treat tightlining as tiny stamping at the lash roots, the whole thing gets less dramatic, your hand relaxes, the line looks cleaner, and the smudges usually drop.
If you want a practical next step, pick one waterline-friendly gel pencil, practice on the outer third only for a week, and keep a pointed swab nearby for quick cleanup, it is the easiest way to build confidence without overdoing it.