
How to bake makeup for beginners comes down to one thing: using loose setting powder to “set” areas that crease easily, then brushing off the excess for a smoother, longer-wearing finish.
If you’ve ever looked in the mirror two hours after concealer and seen fine lines, shiny patches, or makeup sliding around your nose, baking can help, but only when it’s done lightly and in the right spots.
There’s also a lot of confusion online, some people “bake” half their face with a thick powder layer and wonder why everything looks dry. In this guide, you’ll learn what baking actually does, who it’s best for, and how to do it without turning your under-eyes into chalk.
What “baking” makeup means (and what it doesn’t)
Baking is a setting technique where you press a slightly heavier layer of loose powder onto areas that crease or get oily, let it sit briefly, then sweep off the excess. The warmth from your skin helps the powder lock in base products underneath.
What it doesn’t do: it won’t fix a mismatched foundation shade, it won’t blur texture like a filter, and it can emphasize dryness if your skin prep is off.
According to the American Academy of Dermatology (AAD), basic skin care like moisturizing supports the skin barrier, which often makes makeup sit more comfortably. For baking, that translates into a simple truth: hydrated skin usually looks smoother under powder.
Who should bake (and who should skip it)
Not everyone needs baking, and that’s fine. Many people in real life get better results by setting lightly instead of fully baking.
Usually worth trying if you…
- Crease under the eyes even after setting
- Have oily or combination skin around the T-zone
- Need makeup to last for events, photos, or long workdays
- Wear fuller-coverage base and want extra insurance
Often better to skip or modify if you…
- Have very dry under-eyes or visible flaking
- Prefer sheer skin tints and minimal makeup
- Notice powder makes your texture look more obvious
Key point: You can bake just one small area (like smile lines) instead of doing the whole under-eye triangle.
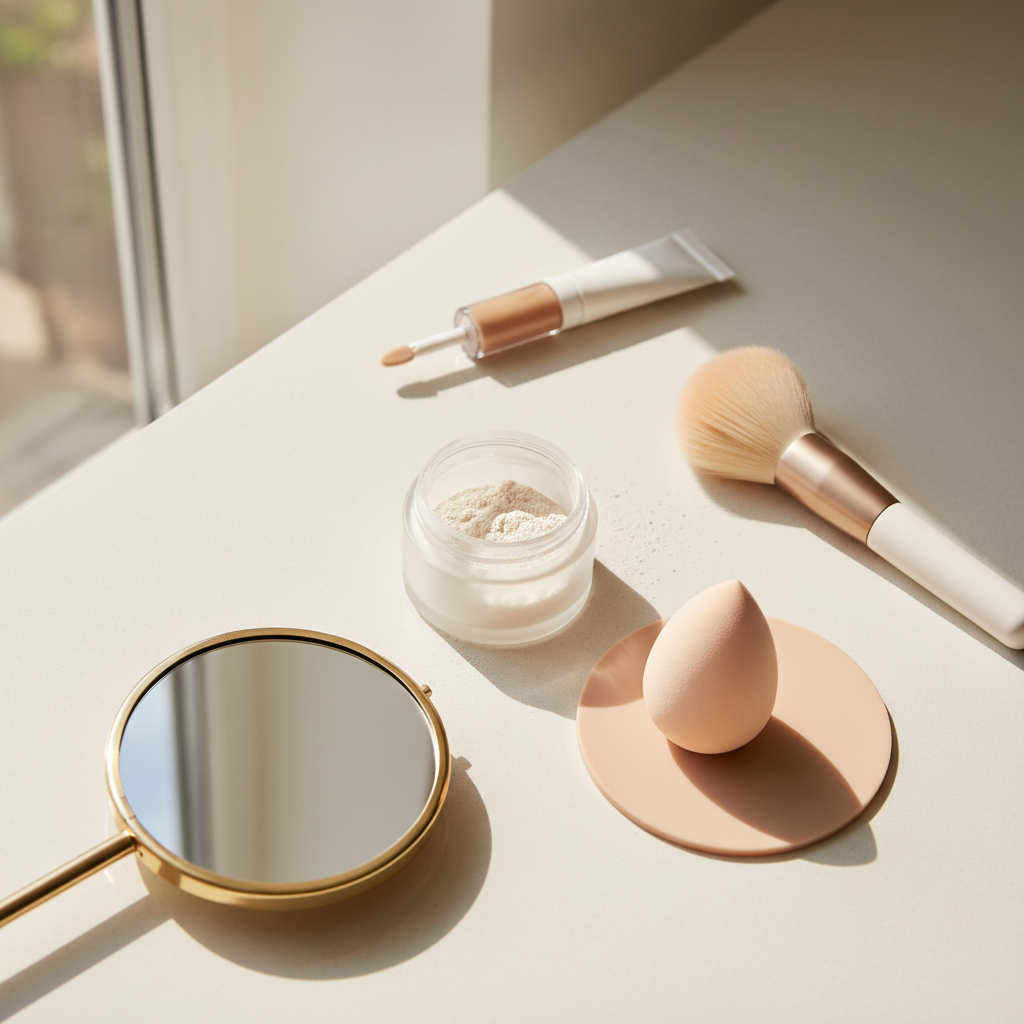
What you need: products and tools that actually matter
You don’t need a pro kit. For how to bake makeup for beginners, picking the right powder and the right applicator gets you 80% of the way.
- Loose setting powder: translucent or a tone close to your skin, finely milled usually looks less “dusty.”
- Damp makeup sponge: helps press powder into place without dragging concealer.
- Fluffy brush: for sweeping off excess and softening edges.
- Optional: small pressed powder for quick touch-ups later.
If flashback is a concern, go easy with powders that look very white in the jar, and test with phone flash at home. According to the U.S. Food & Drug Administration (FDA), cosmetics should be used as intended and discontinued if irritation occurs; if your under-eye area stings or gets rashy, switching products or asking a dermatologist is the safer move.
How to bake makeup for beginners: the simple step-by-step
This is the version that works for most people without the heavy “stage makeup” look. Keep the layer thinner than you think you need, especially under the eyes.
1) Prep skin so powder has something to sit on
- Moisturizer first, then sunscreen in the daytime.
- If you use eye cream, use a small amount and give it a minute to settle.
- If you prime, keep it light under the eyes, too much slip can make concealer move.
2) Apply base and concealer, then reduce creasing
- Apply foundation (if you wear it), then concealer.
- Look up slightly, then tap with a sponge or fingertip to smooth any lines.
- Don’t wait too long before setting, concealer can crease as it dries.
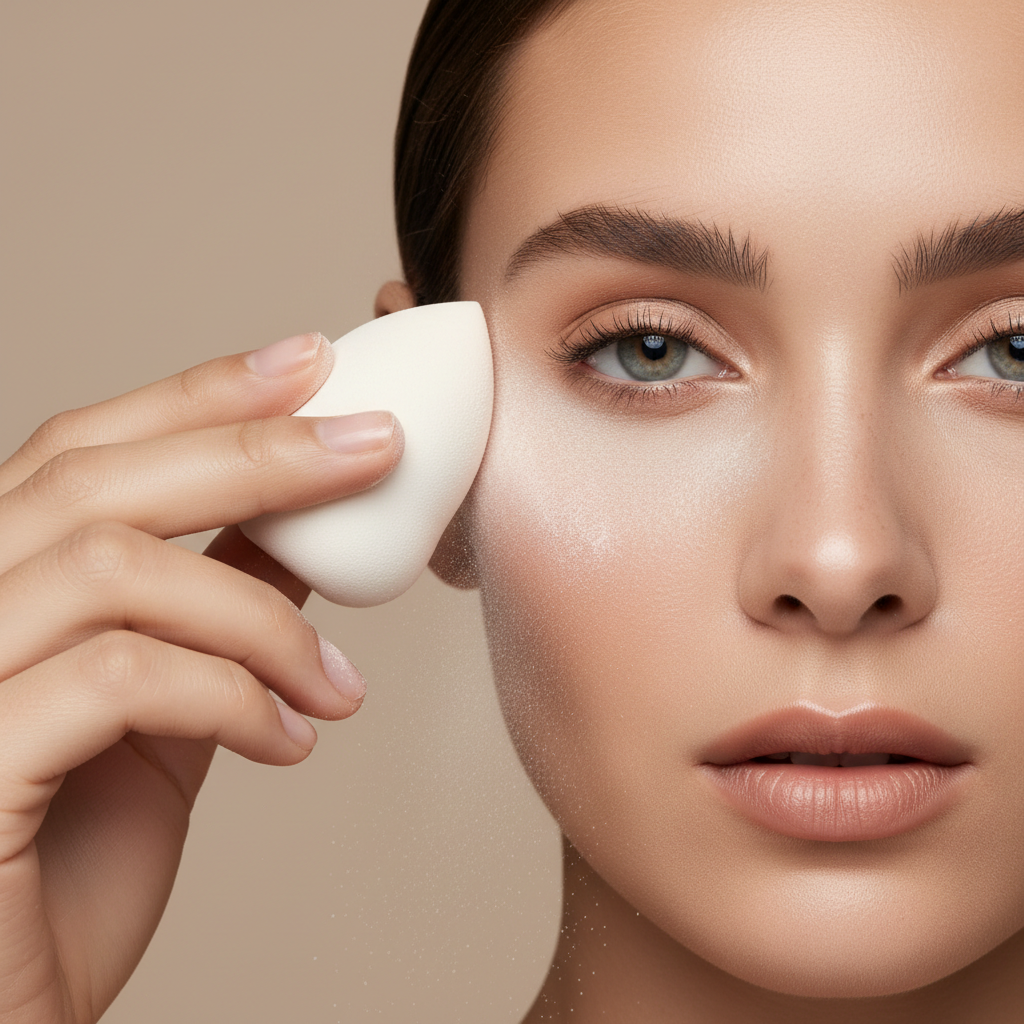
3) Press on powder (the “bake” layer)
- Dampen your sponge and squeeze out excess water, it should feel just barely moist.
- Pick up loose powder, then press it under the eye, around the nose, or smile lines.
- Aim for a visible veil of powder, not a thick cake.
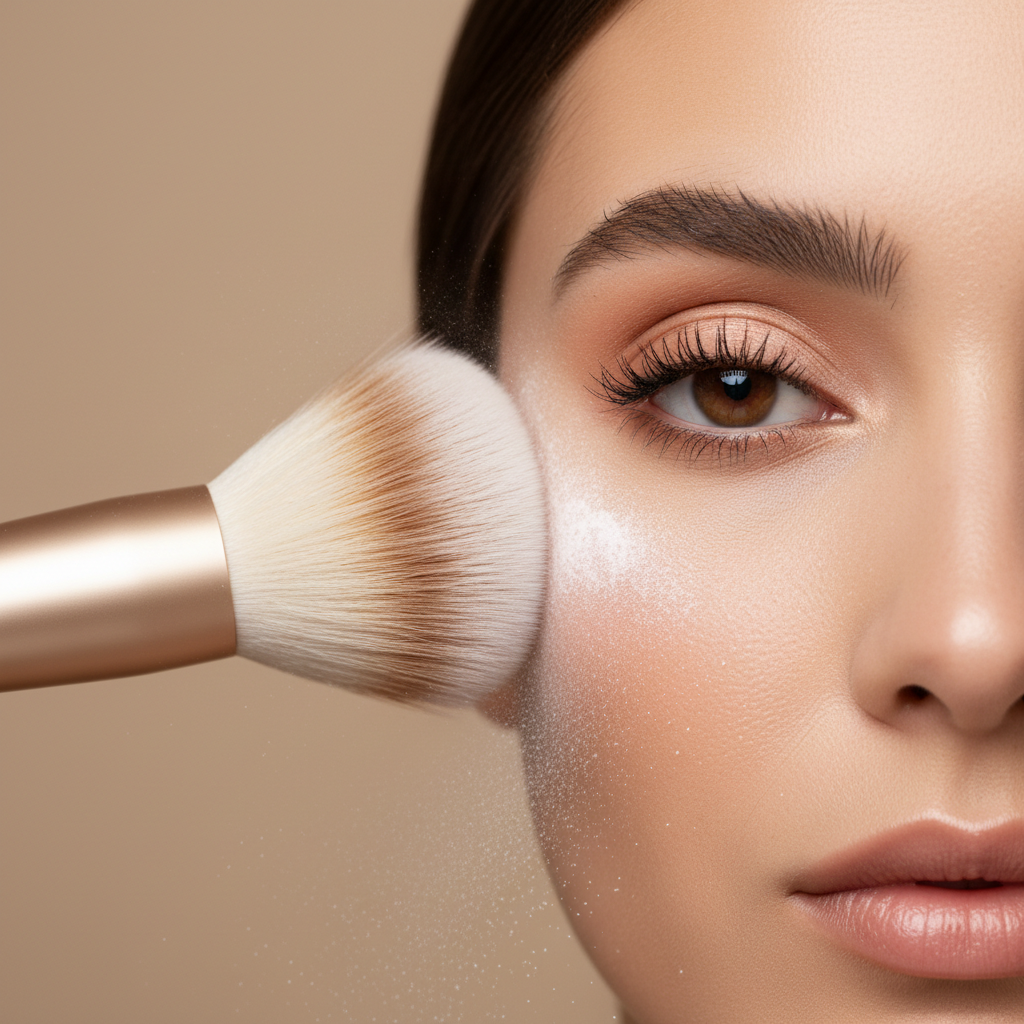
4) Let it sit briefly, then dust off
- Wait about 1–5 minutes. Beginners usually do better closer to 1–2.
- Use a fluffy brush to sweep away excess with gentle strokes.
- Finish with bronzer/blush after, so you can blend over any edges.
5) Soften the finish
- If it looks too powdery, a light mist of setting spray can help melt layers together.
- If you get dry patches, press (don’t rub) with a clean sponge to calm the texture.
Baking placement: where to do it (and where not to)
Most people don’t need to bake the entire face. Strategic placement is what makes baking look “clean” instead of heavy.
- Under eyes: focus right where you crease, usually closer to the inner half.
- Sides of nose: great for smile-line creasing and shine.
- Chin/forehead center: if you get oily midday.
Areas to treat carefully: dry cheeks, textured acne patches, and anywhere you already look matte. Powder tends to highlight what’s raised or flaky.
Quick self-check: why your bake looks dry, cakey, or gray
If baking looked great on someone else but not on you, it’s usually one of a few fixable issues. Use this checklist before buying more products.
- Too much powder: the most common issue, use less and shorten the “sit” time.
- Wrong powder tone: very pale powders can read ashy on deeper skin tones.
- Under-eye too dry: more hydration, less bake, or set with a tiny amount instead.
- Concealer too thick: heavy layers crease, then baking “locks” the crease in place.
- Brush too aggressive: scrubbing lifts base, sweep softly.
Beginner-friendly powder choices by skin type (table)
Here’s a practical way to decide what to try without overthinking it. Brand choice matters less than texture, tone, and how lightly you apply.
| Skin type / concern | Powder texture to look for | Baking approach |
|---|---|---|
| Oily / shine breaks through | Loose, oil-control, finely milled | Short bake on T-zone, light under-eye |
| Combination | Lightweight loose powder | Spot-bake nose/smile lines, minimal elsewhere |
| Dry / tight under-eyes | Very fine, less mattifying, or “soft-focus” | Skip full bake, press a thin set layer only |
| Textured / visible pores | Micro-fine powders, avoid chunky shimmer | Press lightly, don’t build thick layers |
| Deeper skin tones / gray cast concern | Translucent with warm/neutral tint | Use less powder, test in flash lighting |
Common mistakes to avoid (so it looks like skin, not flour)
- Baking too long: longer isn’t better, especially under eyes.
- Using a dry sponge: it can grab and move concealer, a slightly damp sponge presses more evenly.
- Setting before smoothing creases: always tap lines out right before powder.
- Over-highlight + heavy bake: bright concealer plus bright powder can look stark in daylight.
- Skipping shade checks: check near a window and with phone flash if you’ll be photographed.
Key takeaway: If your goal is everyday wear, a “mini-bake” is usually enough, you’re setting makeup, not plastering it.
When to get extra help (or change the plan)
If the under-eye area looks irritated, stings, or gets bumpy after powders or sprays, stop using the product and consider checking with a dermatologist, the eye area is sensitive and reactions are not rare.
If you’re baking for a wedding, a big event, or professional photos, a makeup artist can test products in advance and adjust for flash, sweat, and touch-ups, which is hard to DIY on the day.
Conclusion: a beginner bake should feel light
How to bake makeup for beginners is less about copying dramatic tutorials and more about targeted setting: prep well, press a thin layer of powder where you crease, wait briefly, then brush off gently.
If you want one action step, try a 2-minute mini-bake on the sides of your nose and inner under-eye only, then take a quick phone-flash photo to see how it reads, that small test saves a lot of frustration.